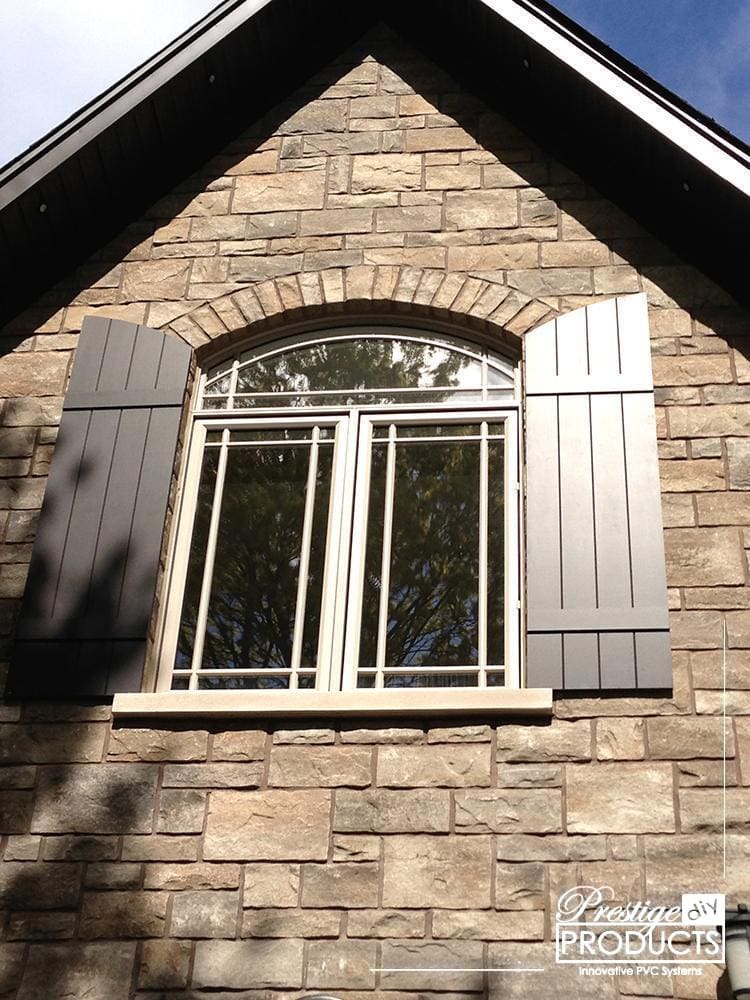
How to Install Your Prestige FLEX Shutters

6 Easy Steps to DIY Your Prestige FLEX Shutters Installation
Taking on a DIY shutter installation project can be a fun and fulfilling way to enhance your home’s look. Besides, doing it yourself not only gives you a chance to personalize your space but also helps you save on installation costs!
In this easy-to-follow guide, we’ll show you how to install our high-quality Prestige Flex Shutters. Let’s get your project underway and transform your home with ease!
But First, Why Choose Prestige FLEX Shutters?
When it comes to enhancing your home’s curb appeal and functionality, Prestige FLEX Shutters stand out as an excellent choice. These shutters are designed to offer both style and practicality, making them a versatile addition to any home.
With a standard width of 16 inches and available in heights of 4, 5, and 6 feet, Prestige FLEX Shutters are sized to fit a wide range of window dimensions. This variety ensures that you can find the perfect size to complement your home’s architecture.
The shutters come with reversible panels and headers, providing you with the flexibility to achieve different looks and styles without needing to purchase additional products. Whether you prefer a classic or contemporary appearance, you can easily customize the shutters to match your aesthetic preferences.
Additionally, Prestige Flex Shutter’s optional divider feature allows for even more design possibilities. By adding this divider, you can create distinct sections within your shutters, offering a tailored look that enhances your home’s exterior. This flexibility in design not only adds visual interest but also allows you to achieve a professional finish that elevates the overall appearance of your property.
So, What Do I Need for DIY Shutter Installation?
Before starting your shutters DIY installation, you’ll need to gather the following tools and materials:
- Tape Measure: For accurate measurements
- Pencil: To mark cutting and drilling points
- Level: To ensure your shutters are perfectly aligned
- Hammer: For securing components
- Screw Gun: For efficient screw driving
- Provided Cortex Screws: Included with your shutter kit (sold separately)
6 Steps to DIY Your Prestige Flex Shutters
Installing your Prestige Flex Shutters is a straightforward process that can transform the look of your home. Follow these six easy steps to ensure your shutters fit perfectly and enhance your home’s exterior!
Step 1: Measure Your Window Opening
Accurate measurement is crucial for a successful shutters DIY project. To start your DIY shutter installation, measure the width of your window opening using a tape measure.
For instance, if your window is 42.5 inches wide and the standard shutter is 48 inches, trim 5.5 inches from the shutter. Mark these adjustments on both the styles and the shutter panel. It’s important to get your window’s measurement as precise as possible to ensure that your shutters fit perfectly.
Step 2: Mark Any Adjustments
For a seamless fit, make sure to mark your shutter adjustments. Begin by marking the areas that need to be cut on both the vertical styles of the shutter and the panel itself. Use a pencil to make clear and visible markings.
For instance, if your window opening is 42.5 inches wide and your standard shutter measures 48 inches wide, you’ll need to trim 5.5 inches from the shutter to ensure a perfect fit.
Step 3: Cut the Excess
Now, it’s time to cut! Using a miter saw or a skill saw, cut the shutter panel and styles to the marked dimensions. Ensure your cuts are straight and precise for a clean and professional look.
Ensuring accuracy at this stage will help you avoid mistakes and achieve a precise fit, leading to a more polished and professional installation.
Step 4: Reassemble Your Prestige Flex Shutter
Next, reassemble your Prestige Flex Shutter by aligning the components you have and applying the provided press adhesive to the top of the frame. Perform this assembly on a flat surface, such as a workbench. Use a clamp if needed to hold parts in place during the adhesive setting.
Step 5: Secure the Shutter in Place
You’re almost done! Place three screws down each side of the frame, positioning one screw in the center of the style and at the rail heights both top and bottom. For 4 and 5-foot high shutters, add an extra screw in the center. For 6-foot high shutters, use four screws per side, distributing them evenly along the rail.
Here are some of our pro tips for this step:
- Ask a helper to assist you in keeping the shutter level while you work.
- Layout where you’re going to screw on the sides using a tape measure and a pencil.
- Use a level to tilt the shutter if necessary.
- Put in the center screw first so it will hold up the shutter on the wall.
Step 6: Hammer in the Outer Caps

Complete your shutters DIY installation by hammering in the outer caps. Lastly, double-check that all screws are securely tightened and that the shutter is perfectly aligned and level.
Congratulations, you’ve successfully DIYed your shutter installation! Enjoy the professional look you’ve achieved with your DIY skills.
Enhance Your Home with Prestige Flex Shutters
Transform your home with Prestige Flex Shutters. Visit our website to explore our range of high-quality DIY products and find everything you need for your shutters DIY project. For more information or assistance, contact Prestige DIY Products today!


